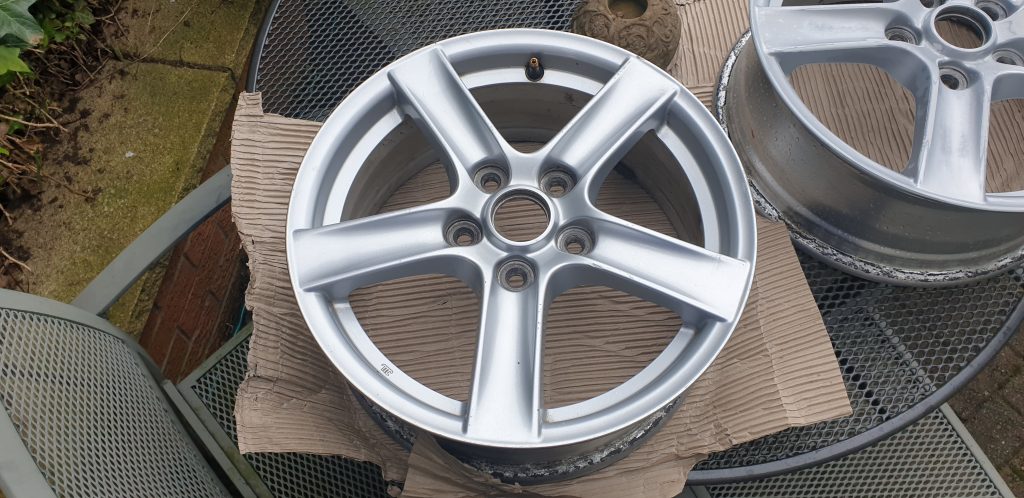
How To: Alloy Wheel Refurb DIY
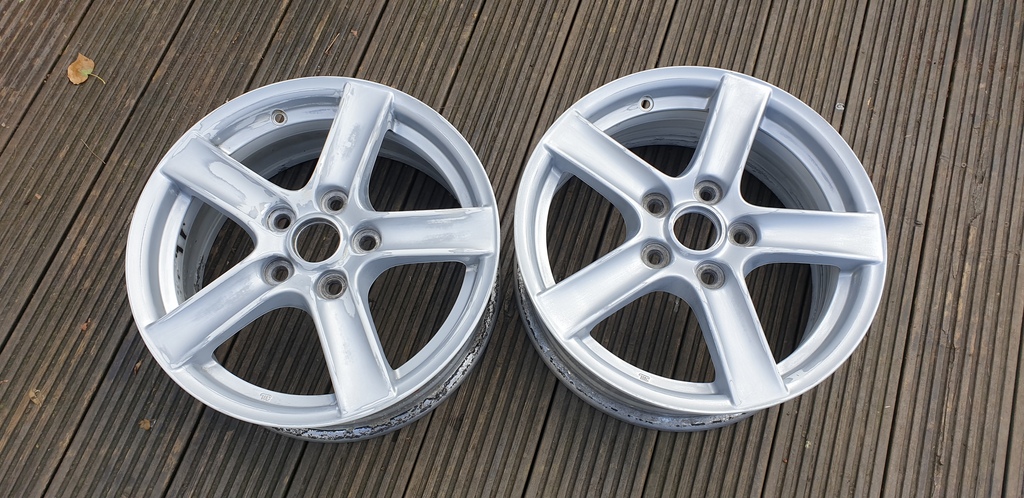
Bought two without tyres – quite good condition but still in need of attention – so as to refurb two, put new tyres on them, put them on the car, take tyres off two more, refurb those, put new tyres on them, onto the car, strip remaining two, refurb those, sell them.
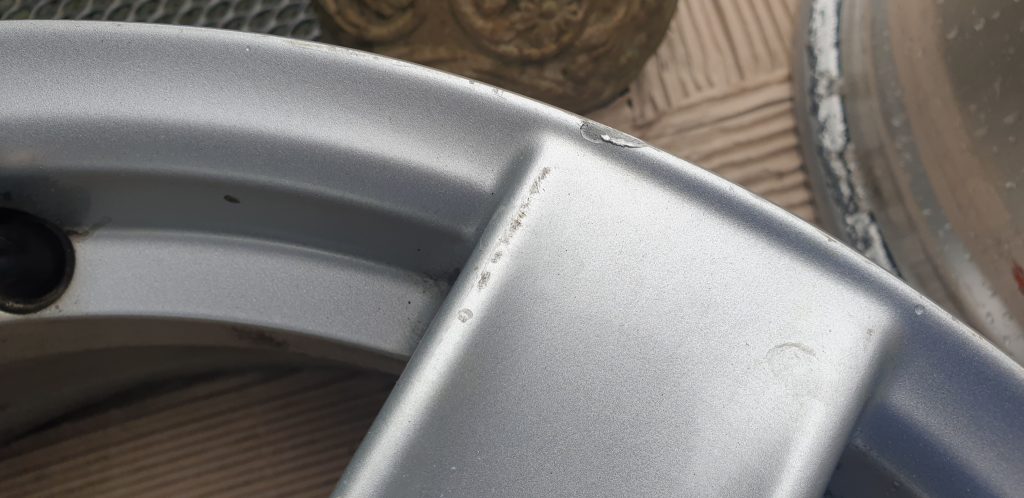
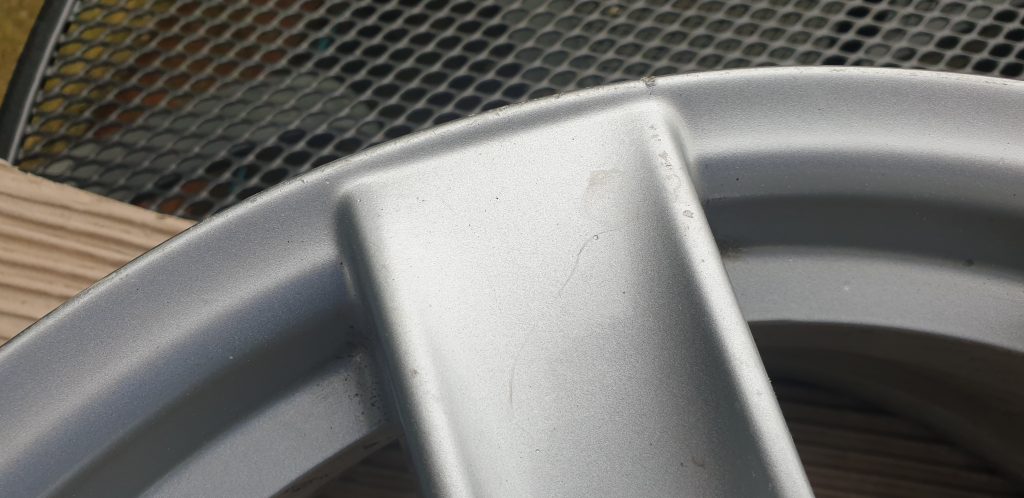
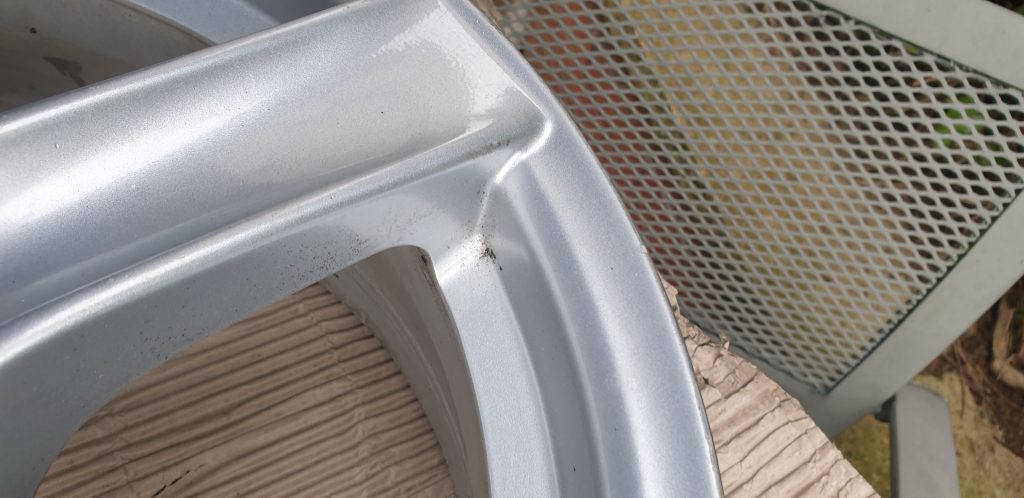
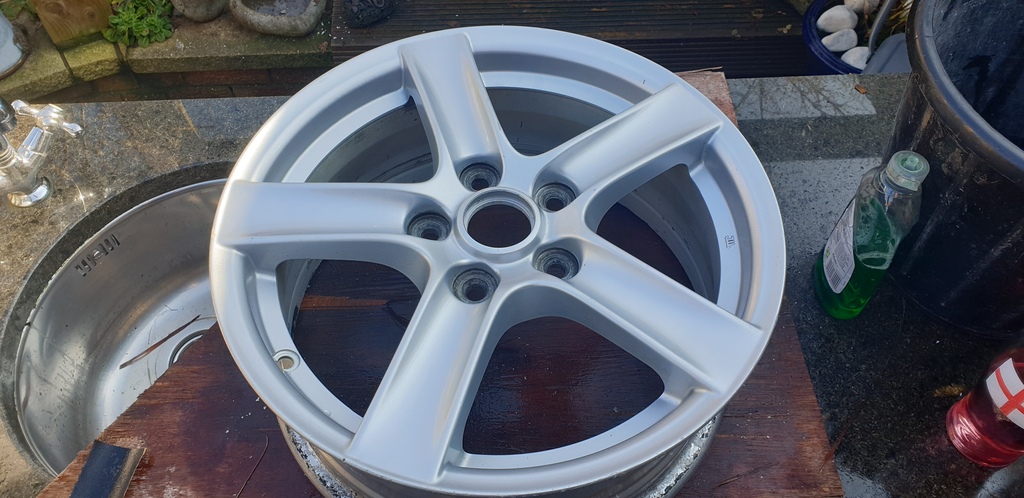
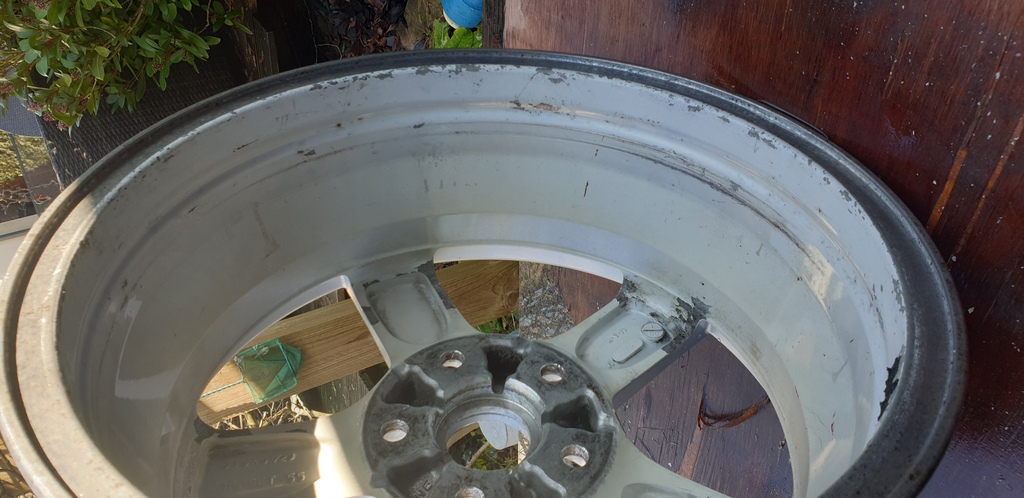
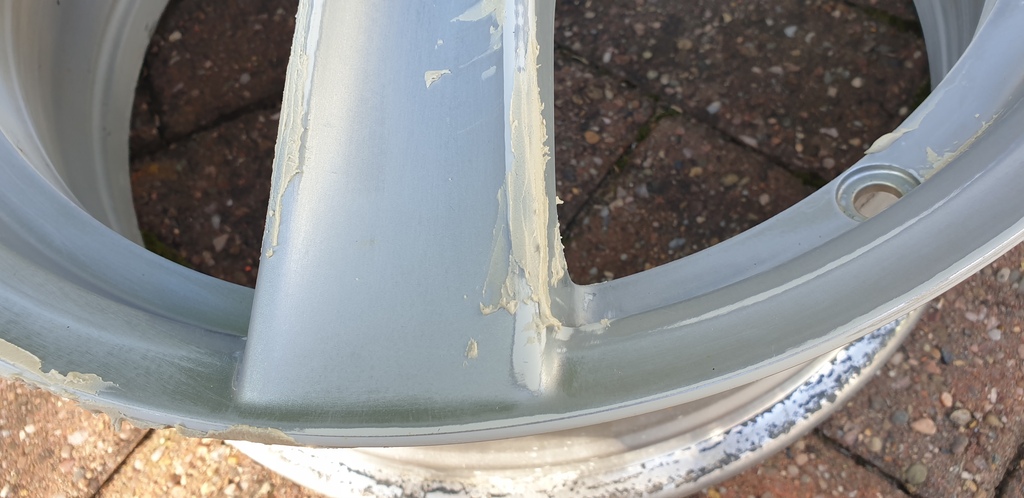
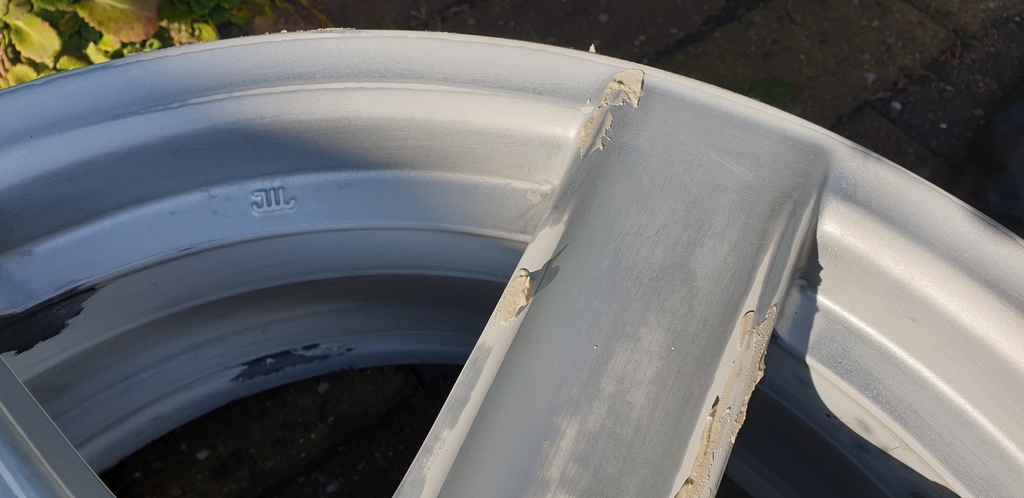
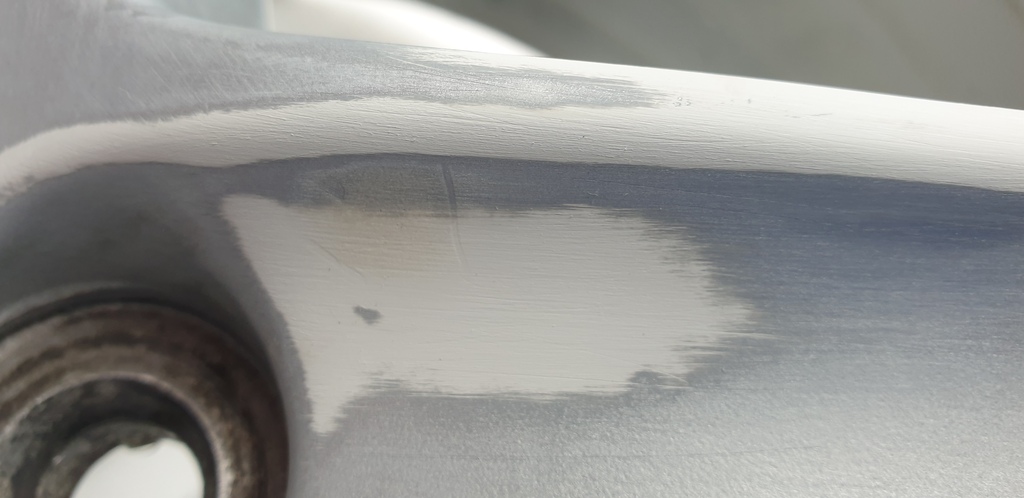
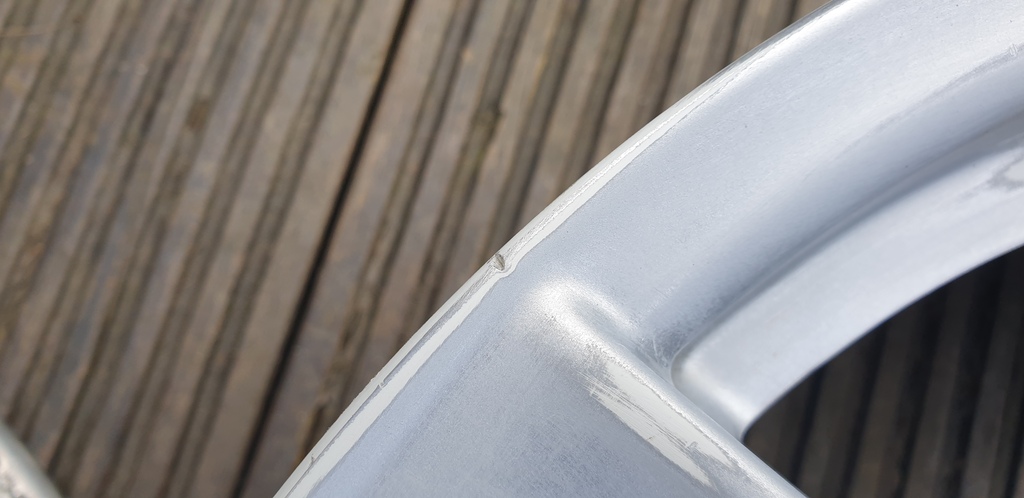
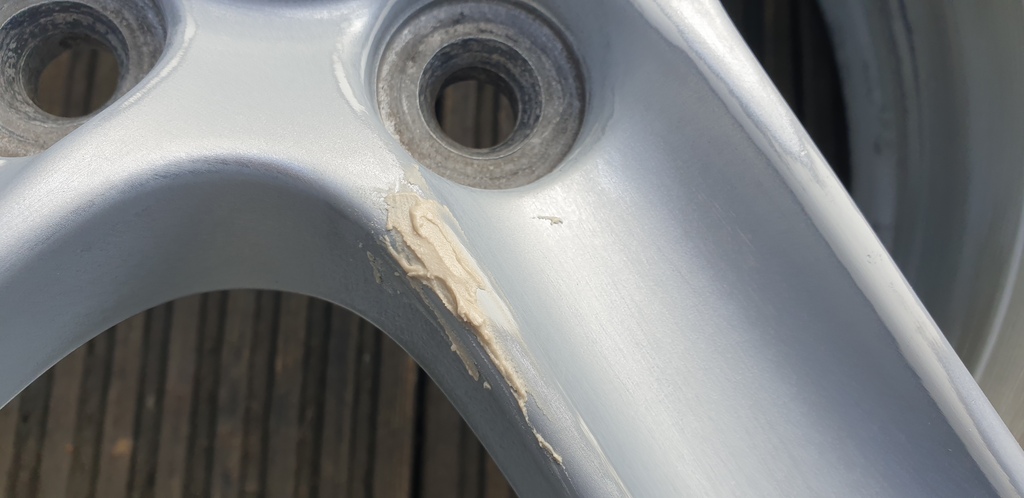
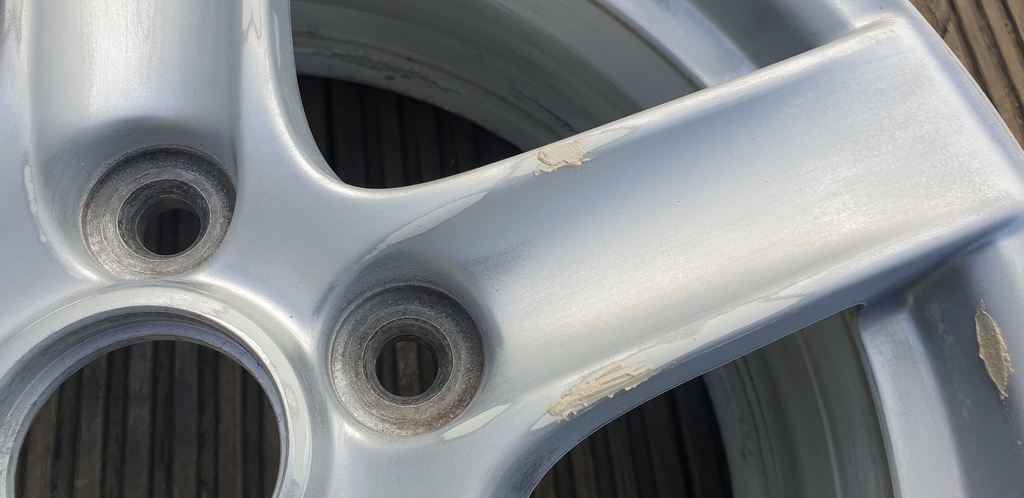
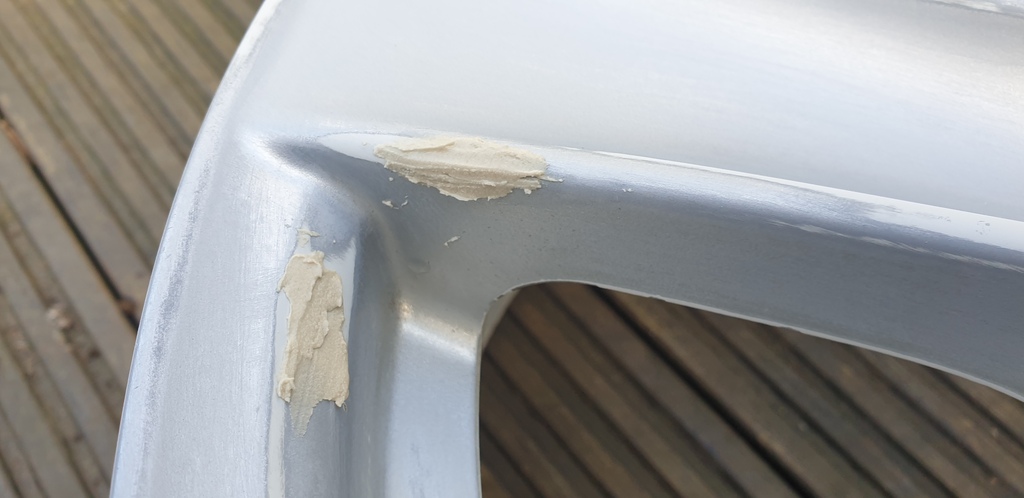
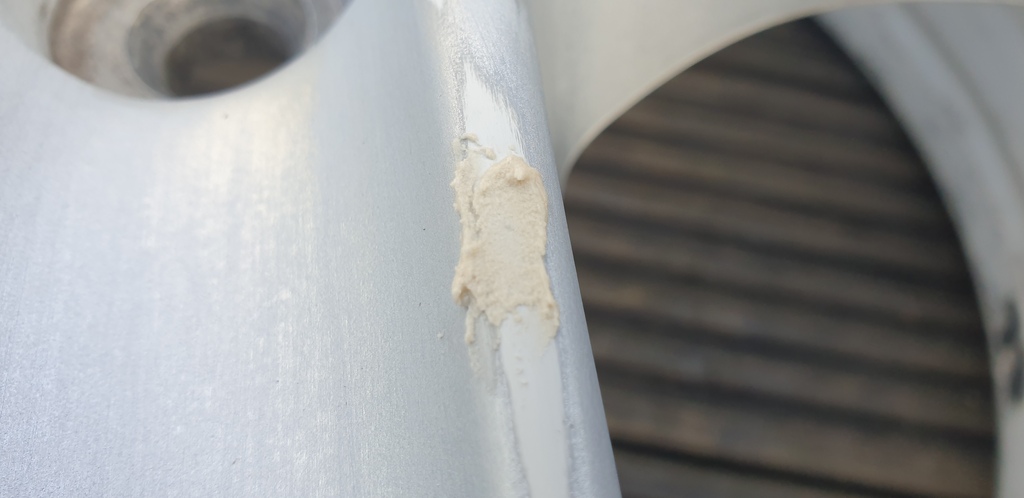
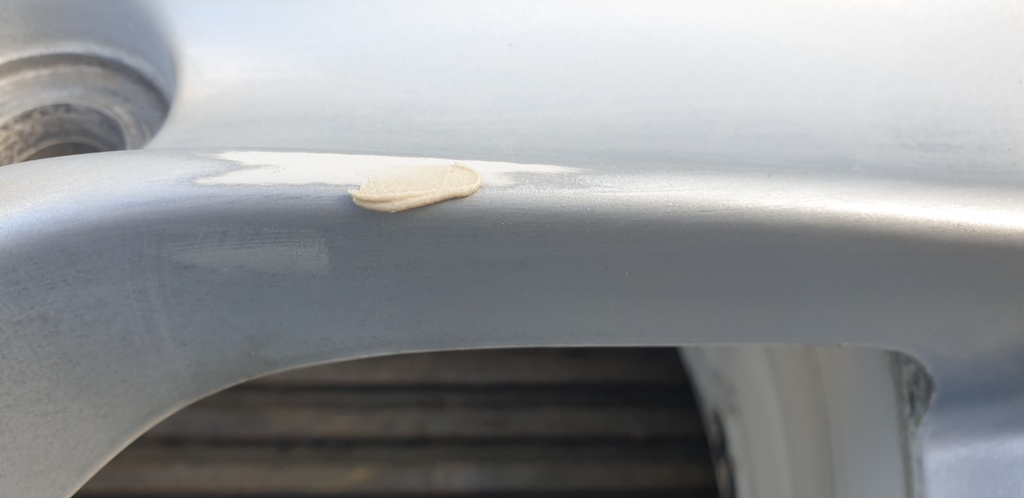
First effort was on one wheel and I learned a lot about the order of events. So next one will be wash, degrease inside with wire brush and wire wool, wash with fairy liquid, then degrease face (with a cloth, not a brush) and wash. Rinse, then attack inside with wire brush, dremel (on slow) with wire brush, where necessary, (but be careful) and P180 to remove any stubborn marks and loose paint then get to what I started with first on the face of the wheel – general sand all over to key for primer (P320 – careful until its a minute or so old) and P180 to remove nicks, dents and scratches. Degreasing after having worked on face just means the need to degrease the face as the run off sticks!
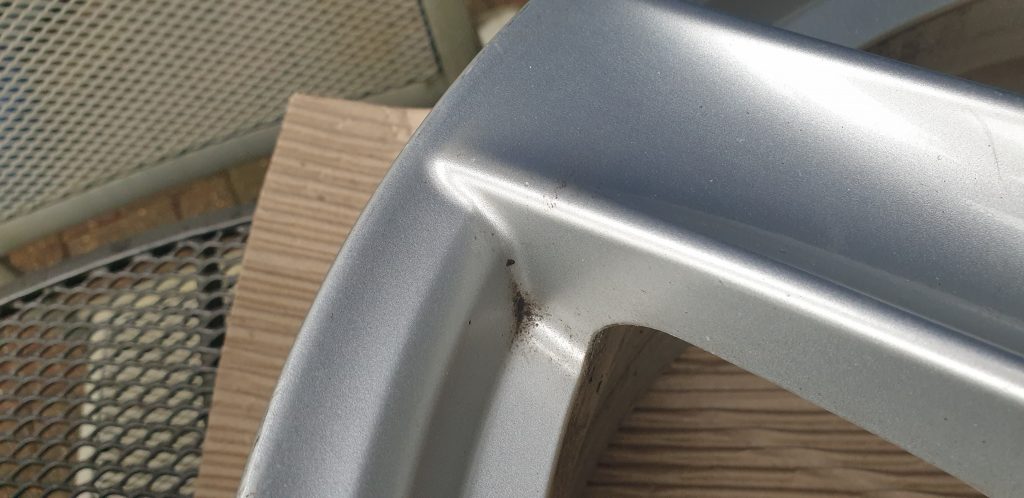

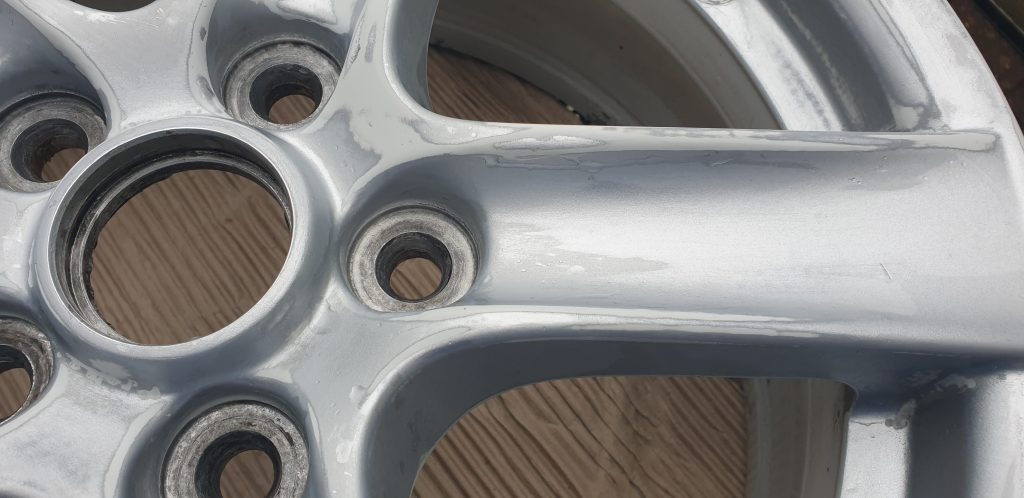
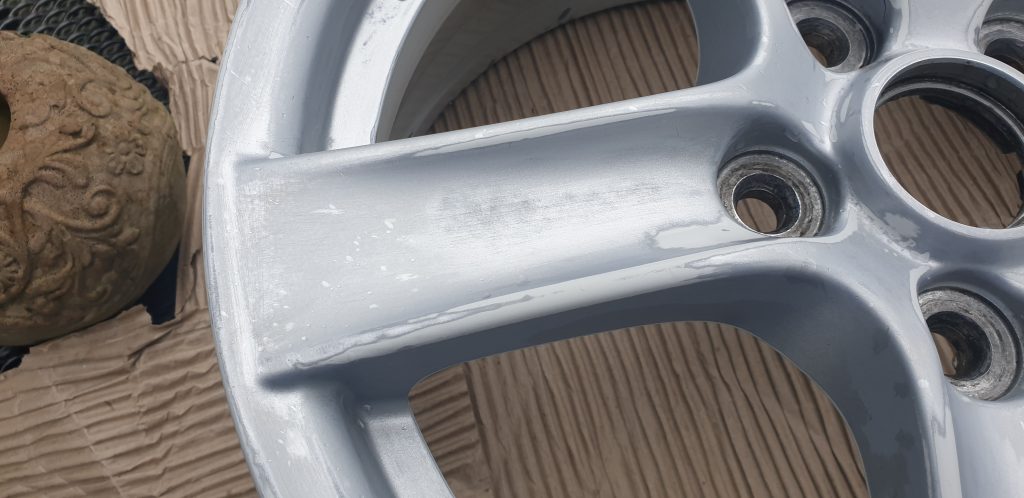
Then I put filler on the first wheel and cleaned up the second wheel – clean and degrease THEN start sanding the bad spots, then an overall sanding and a hard go at the back and loose paint. didn’t use the dremel at all. Took it much easier and tried to take much less off.
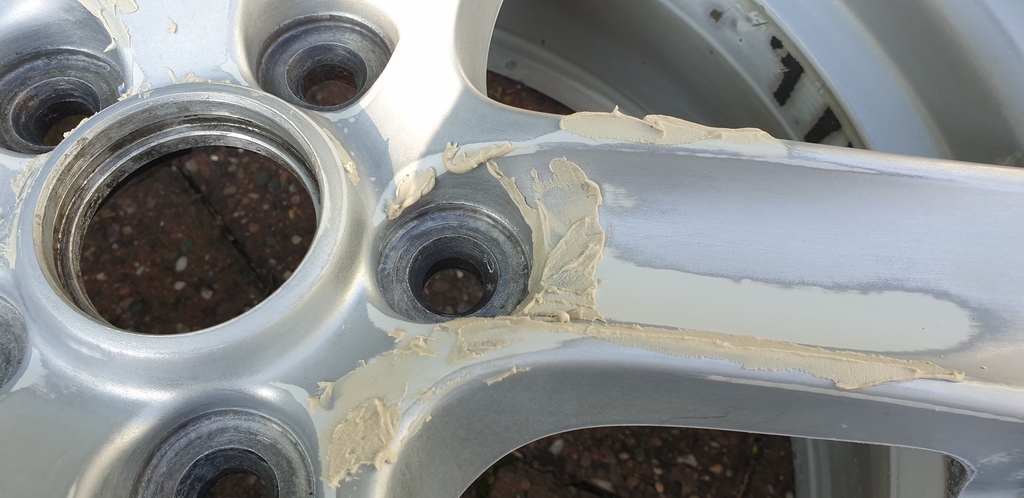
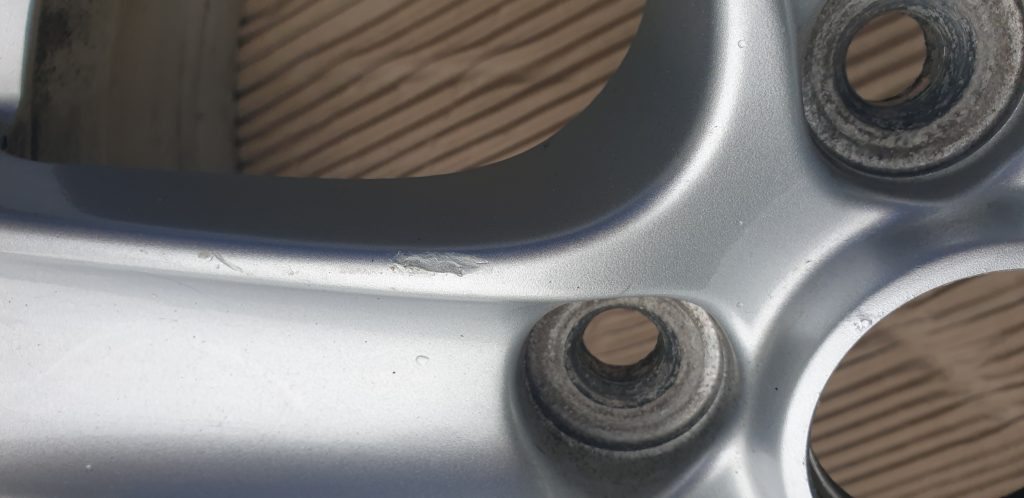
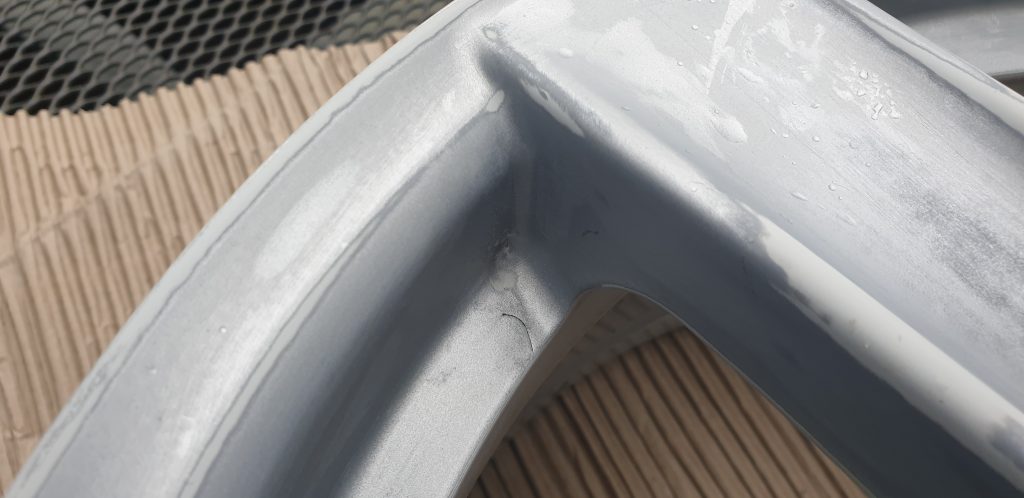
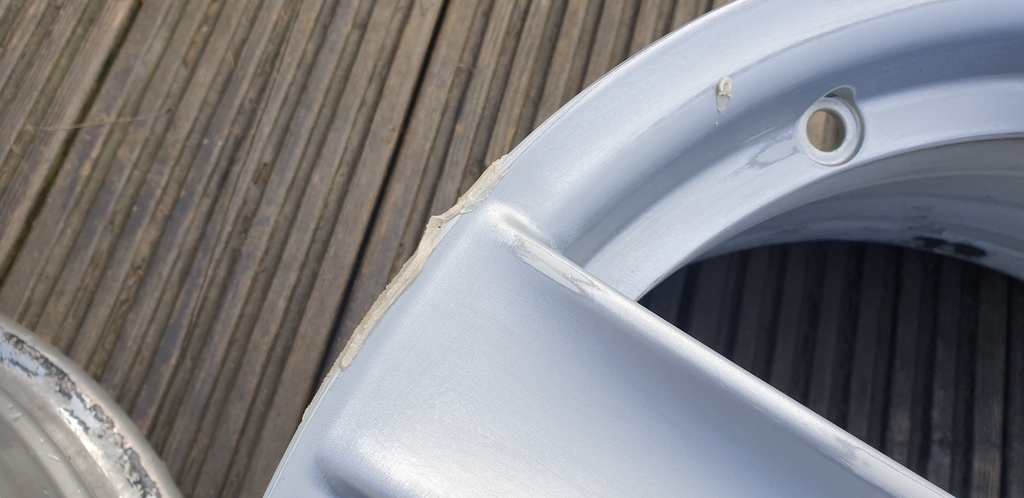
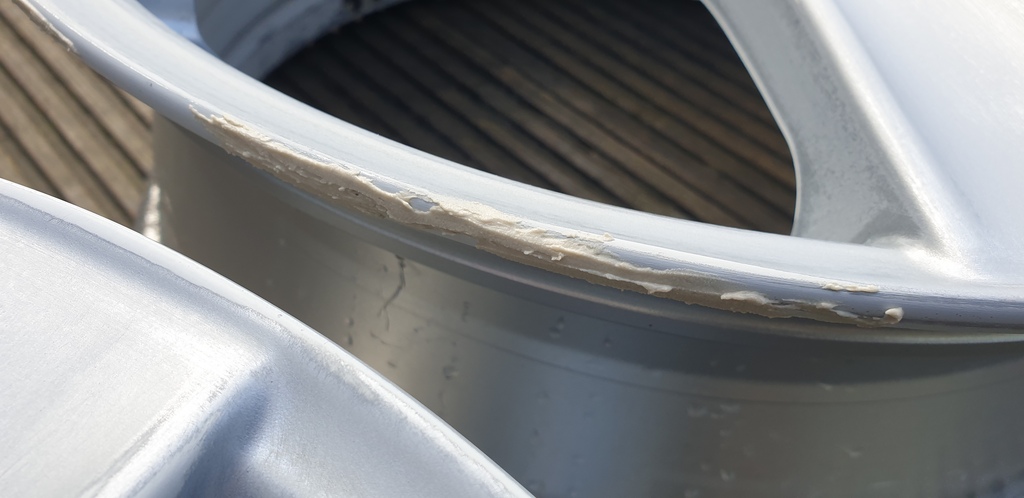
Then another weekend I sanded down the filler (1 week after applying it). Mostly with P180 – new to get the bumps down (torn to about two fingers wide), worn to get it smooth, then P320 to finish off.

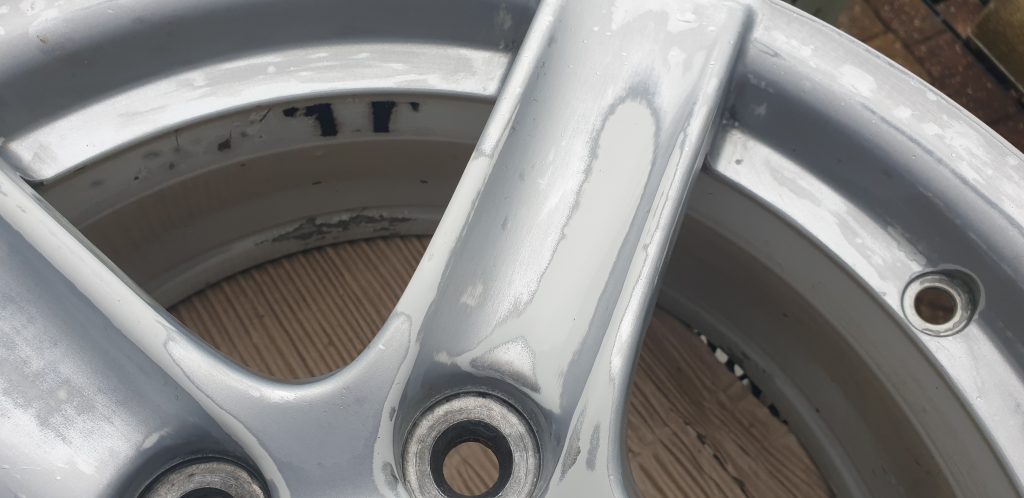
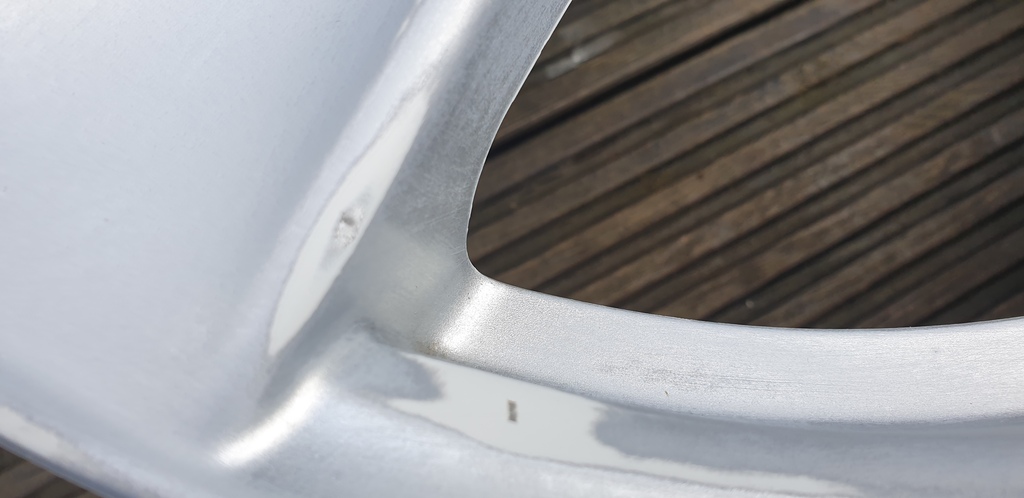
Then I cleaned and inspected the second wheel and added filler in far fewer places – its hard to sand filler in awkward spots so I kept it to a minimum especially where I knew it would create problems rather than solve them
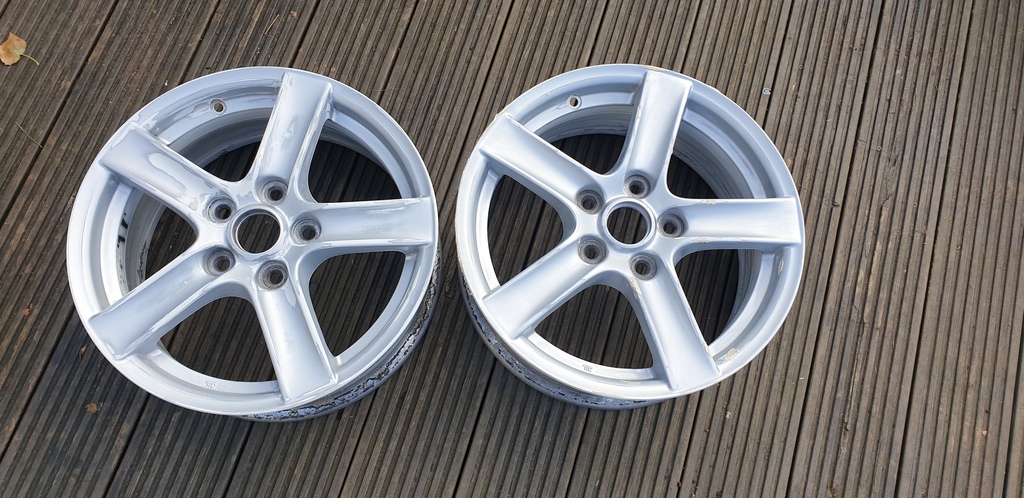
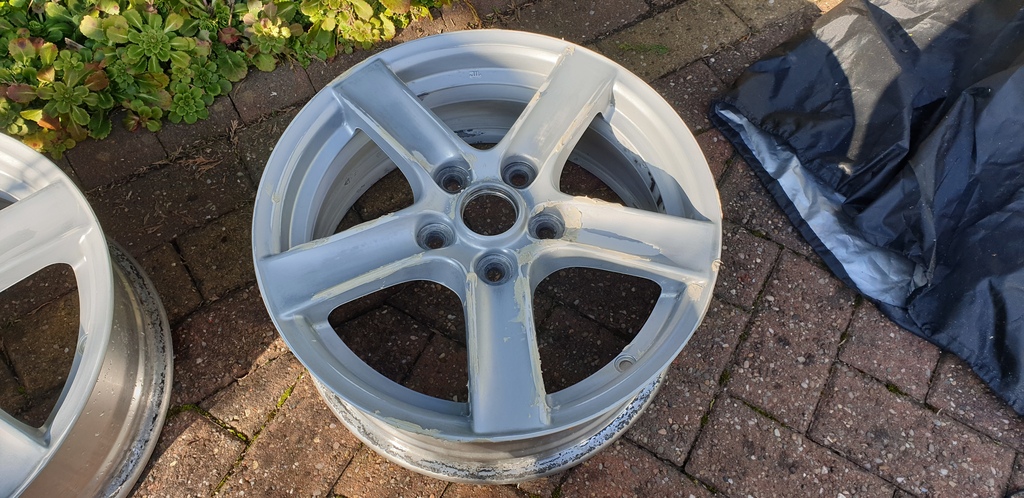
Now done…
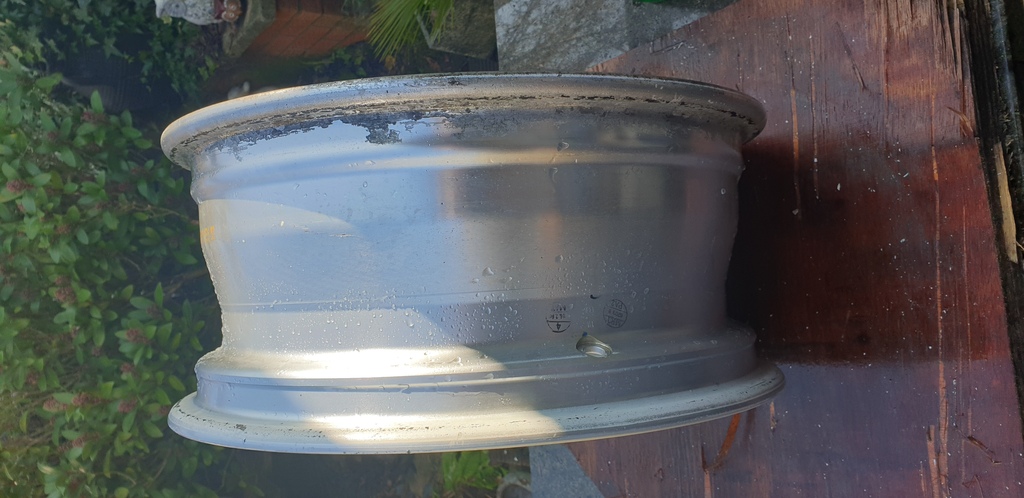
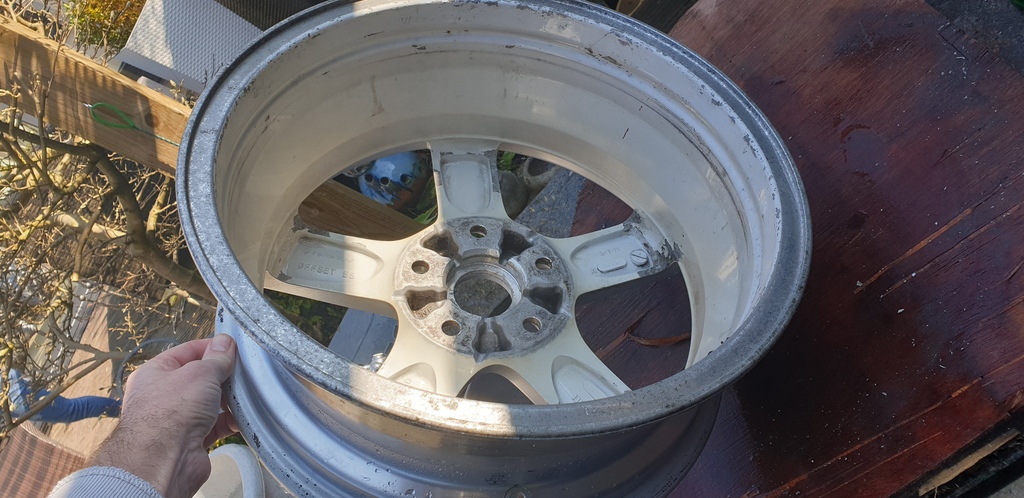
120 grit paper to get loose paint from inside
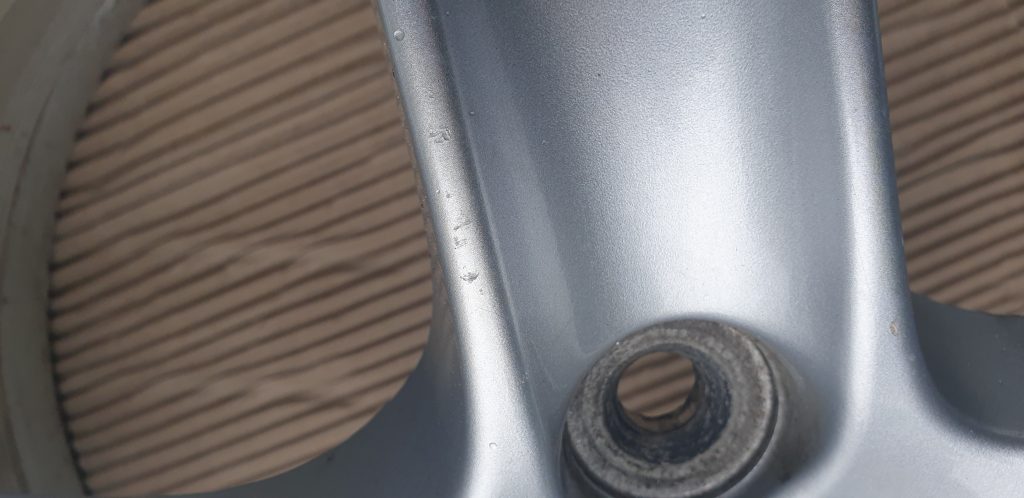
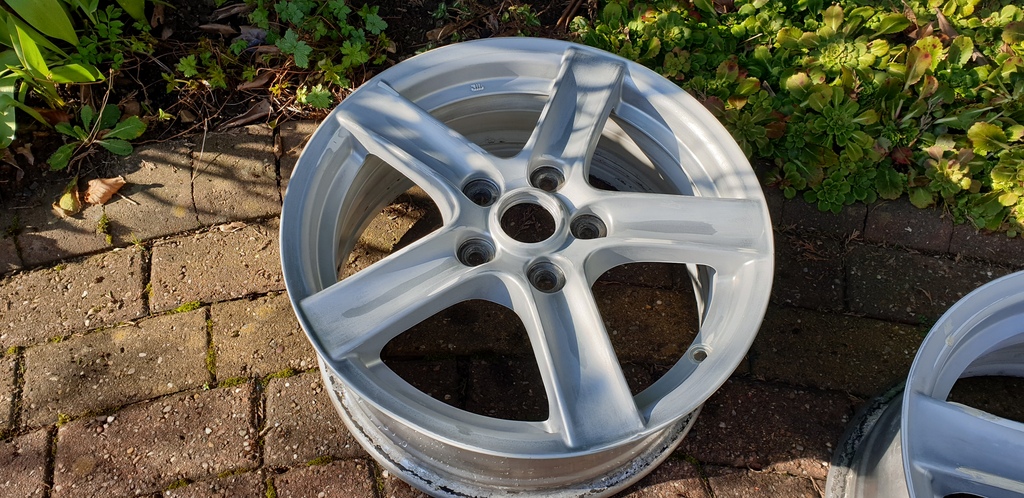
Sand face of wheel smooth using 400-600 paper and repeat as necessary – or use a green scourer. Then clean up.
Once everything is smooth de-grease again using panel wipe.
Complete up to here on both wheels
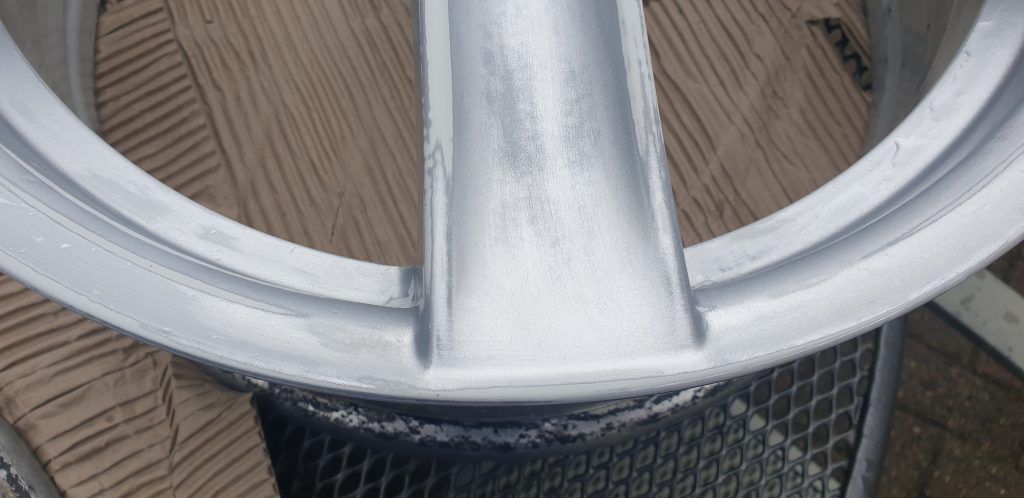
Sunny day (March 30th) outside temp was 21 degrees [Spray it with primer. Paint and wheel need to be at 17-21 degrees. Do many thin coats, ten minutes apart, shake can between coats.]. Inside conservatory 29 degrees. Moved wheels to heated conservatory floor at 8am. Panel wiped them both and allowed to dry. [Use a tack cloth to remove any dust once the panel wipe is dry (it’s very volatile, so doesn’t take long)] Tacked them at 2.15pm then started painting them. As per instructions on paint can – 200mm distance, very fine coats, 10 mins between, no tacking between except the odd bit where a hair had caught but literally 3 or 4 times over the 6 coats on two wheels. Bringing each wheel back inside between coats to stay warm.
Wheel on blocks with valve at 12 noon, one coat. Forgot to weigh can before starting but left it in hot tap water in sink for 2 mins then shook for 2 mins. Did side-to-side, then around inside of rim, then within each opening (x5), then back-and-forth up each spoke, then outside rim. The upended can and sprayed clear and started timer, took can back into hot water
Did second wheel exactly the same straight after but shaking can for 1 minute.
After two wheels, one coat each, the can weighed 365g
Second coat – took wheel outside at 2:00 to go. Shook can until 0:00 after coming back inside for it – so maybe 1:00. Same process except also started to lightly target any spots looking light on paint. Also turned wheel so valve at 6pm. Weighed after 1 wheel 353g, Second wheel identical. Weighed 342g. Can back in water
Can removed from water at 2:00 remaining from 10:00 since painted wheel 1 last time. Took first wheel back outside, valve at 3pm, started shaking can, repeat. After third coat on first wheel weight was 326g, after 3rd on both was 310g
Same again. Wheel out to stand on 2:00 turned to valve at 9pm, shake can for 1:00, spray. Weight 294g. Swap for second wheel, shake can, 9pm, weight 278g
Same again, wheel at valve to 7.30pm, weight after first = 262g, after 2nd = 242g – with a coat in the front inch of the inside of the wheel, having turned it to face away
Same again, hweel valve at 1.30pm , weight after 1 230g, after 2 211g – inside edge again, and can now dead and started to spit a little as it died – would only work at certain angles
Primer used was….
Next steps…
Once happy, use 400/600 grit paper wet on anything you’ve primed. You will no doubt see imperfections at this stage. They show up worse with primer than with top coat so it’s your decision whether to go back and repeat the filling and smoothing process on any parts you’re not happy with or go ahead with top coat.
Once ready for top coat, remove all dust, degrease and use a tack cloth and go with your top coat. 2K is an option. It does however give a great gloss finish from the can, goes on much thicker and dries much harder. It is your choice, but do your research. 2K does however stick like shit to a blanket and takes a lot longer to dry than 1k so dust contamination is more of a problem for 2k.
WHERE DOES CLEAR COAT COME IN THIS VERSION???
Paint wheels
– Leave primer to dry for 48 hours
– Sand lightly, then rinse with water and dry thoroughly
– Again, leave cans in warm water for a while and shake thoroughly
– Aim for lots of very light coats, allow each layer to dry and sand down using a very light grit sandpaper
Lacquer wheels
– Leave paint to dry for 48 hours
– Same as the other cans, leave in warm water, aim for several thin coats
Clean and admire
– Apply some sealant (mask the bits where the tyre sticks) get the wheels rebalanced and enjoy your hard work https://www.cleanyourcar.co.uk/gtechniq-c5-wheel-armour
BACK TO OTHER ARTICLE…
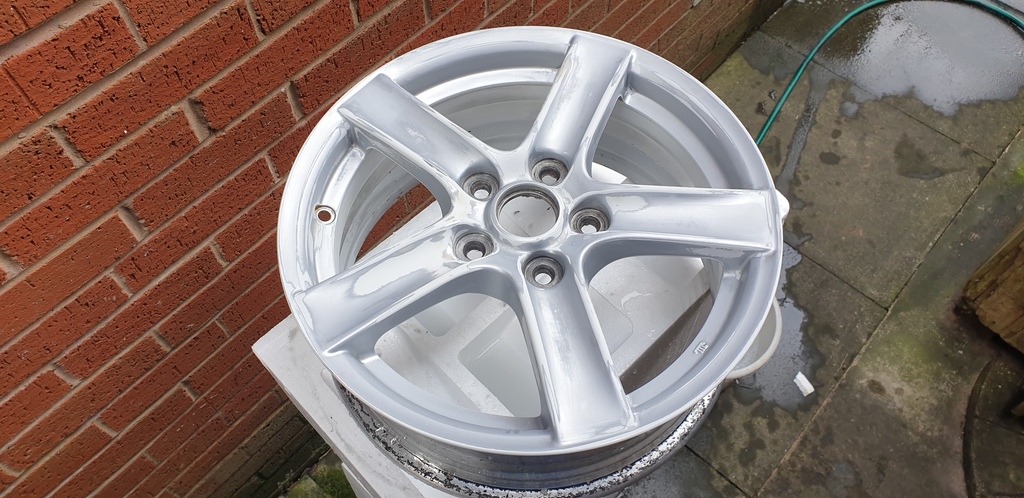
Once you have the top coat on, leave it for at least a week to harden off, ideally with some heat/in the sun (once touch dry as you don’t want dust falling in it, though this can be remedies as described below)
Now the hard work begins. If you have runs, use a small sanding block, 1000 grit wet/dry paper and a spray bottle and sand it out. A block is essential here. I know this sounds mental, but if you work from 1000-2000 grit, you will achieve a gloss finish eventually, especially if you give it a very good polish and wax after. Some would say to start at 600 grit on runs but that can be a little harsh and cause paint damage. Bes to start with the least abrasive option and then work down if you have to. If the finish is not glossy and is ‘rough’ to the touch, again, use 1200 grit paper and work your way to 2000. Keep the paper wet throughout and change it as it gets clogged and discard. A build up of paint may become hard and scratch your new paint.
If you can, use a ‘soft’ cutting compound (like G3) and a damp rag to cut the paint back after the 2000 grit along with a lot of graft. A machine polisher would be best, but that’s hard in the bay. Give it a polish and a final wax.
Stand back and wait for the ends of your fingers to grow back!
Each coat (2 wheels) of colour took the weight of the can down by 15-20g. Full can was 380g, empty (can’t spray anything more) was 90g
Of top coat – full can (no lid) was 382g, each coat (2 wheels) was 30 – 40g